Easily Remove Watermark from a Photo
Watermarks in digital images are semi-transparent labels usually identifying a copyright holder of that image. Sometimes retouching a watermark is your last resort to getting a photo or a picture back into its natural state. This could come in handy, for instance, if you lost the original image and only have a copy with a watermark on it. So, how would you do this? Normally, you would open a picture editor and painstakingly paint the label out pixel-by-pixel, resulting in hours and hours of boring, tedious work!
Or, you can do the same trick with Inpaint in merely few minutes! So, here's is how you can remove a watermark from an image in 3 simple steps:
Step 1: Open the photo with a watermark in Inpaint

Step 2: Use the Marker tool to select a watermark area
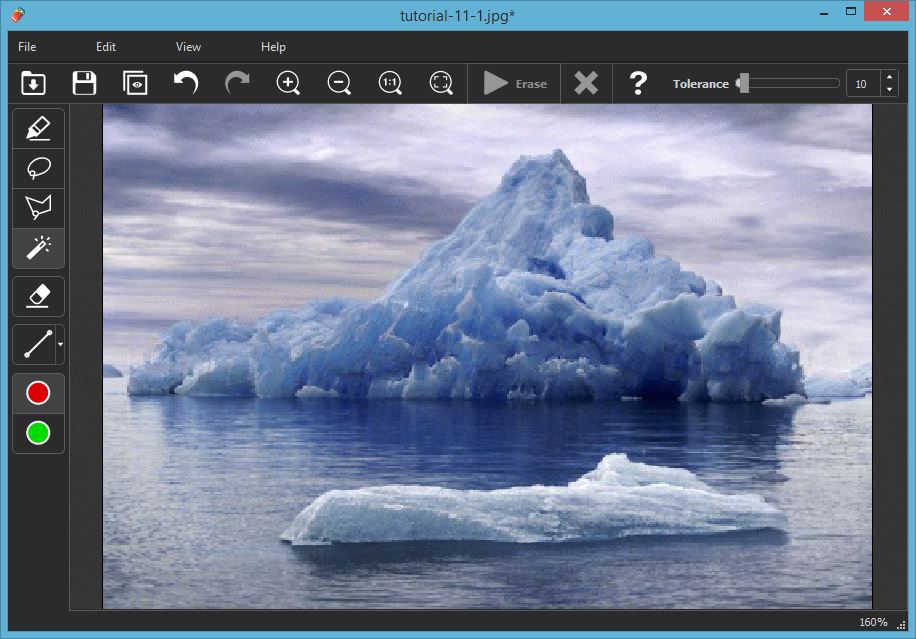
Switch to the Marker tool on the toolbar and select the watermark area. Note that you can adjust the precise size of the marker for fine selection. You can also apply the Magic Wand tool to select a watermark area with one click - this works best with one-color opaque watermarks or logos.

Step 3: Run the restoration process
Finally, run the restoration process by clicking the 'Erase' button. Inpaint will process the image and will remove the watermark from it.
Customer Feedback:
This app does what it says it and does it well. Removing watermarks? Simple. Getting rid of date stamps? Simple. Remove people from photo? Incredible! I've been wanting a cheap and easy way to remove details from my photos and this does it really well.
Mark
Also you probably interested in:
Retouch Multiple Photos with Batch Inpaint
Remove watermarks, date stamps and other unwanted objects in a batch mode.